|
<< Click to Display Table of Contents >> Browsing Icons |
  
|
|
<< Click to Display Table of Contents >> Browsing Icons |
|
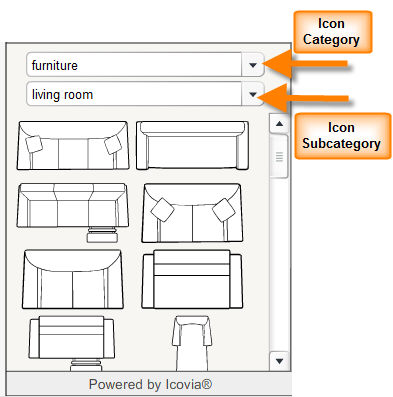
Icons in Icovia are grouped by category as well as subcategories, such as structural. Refer to the icon group table for a listing of available icon groups. The icon info section located right below the info panel, displays the category and the subcategory of the icons displayed in the icon browsing panel below.
To View the Icon Browsing Panel for a Category:
| 1. | Click on the little black triangle to the right of the current icon category name. to view available categories. |

| 2. | Select the category of icons you want to use by clicking on it. |
| 3. | Then click on the subcategory list to select the appropriate icon group. |
| 4. | The icons available for the particular category and subcategory are displayed in the icon browsing panel below. Use the scroll bar on the right side of the icon browse panel to view the full set of icons available for that subcategory. |
| 4. | To add an icon to your plan, click and drag the icon from the panel to the section of the floor plan you want to add it to. If you simply click on an icon, it will be placed in the center of the plan. All icons can be moved and modified once they are placed. |
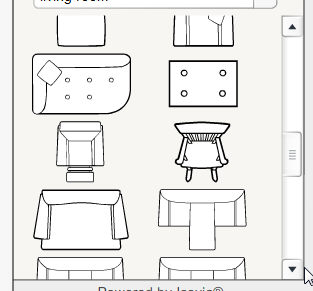
Note: Windows, doors, walls and stairs can be found in the “structural” section. If you cannot find the icon you are looking for, there are some generic shapes that can be used to construct an approximation of the icon you need.