Icovia allows you to import compatible files.
To import a JPG or SWF file:
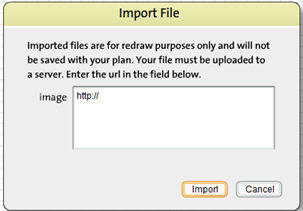
| 1. | Select Import File from the File menu at the top of the screen. This opens the Import File pop-up. |
| 2. | Type in or copy paste the URL of the file to import in the Import file pop-up. |
Note: Only .swf and non-progressive .jpg format images can be imported.
| 3. | Next, click on the Import button. The image should now appear in your work area. |
| 4. | Click Fit from the tool bar at the top of the screen. |
Note: If the image doesn't appear when you zoom to Fit, then you probably have imported an invalid version. Move your cursor to the center of your screen and an icon properties ghost box may appear. If so, delete it. Also, make sure “Show Imports” is checked (located in the "View" menu).
| 5. | Select the image. The image info properties panel appears on the left side of the screen. |
| 6. | Adjust the size of the image. The best way to do this is to draw a line dimension in your plan that is the same size as one of the longest elements in the imported image. Then use the stretch tool on the image to scale the image as needed. Once sized and placed appropriately, click on lock button in the "imported image info" panel. |
| 7. | Make note of the size so it can be re-imported again at the same scale. |


