|
<< Click to Display Table of Contents >> Property Name and Floor Selection |
  
|
|
<< Click to Display Table of Contents >> Property Name and Floor Selection |
|
The property name and the floor selection section are displayed in the top panel. This section offers you easy navigation to the different floors in the floor plan with the floor selection feature.
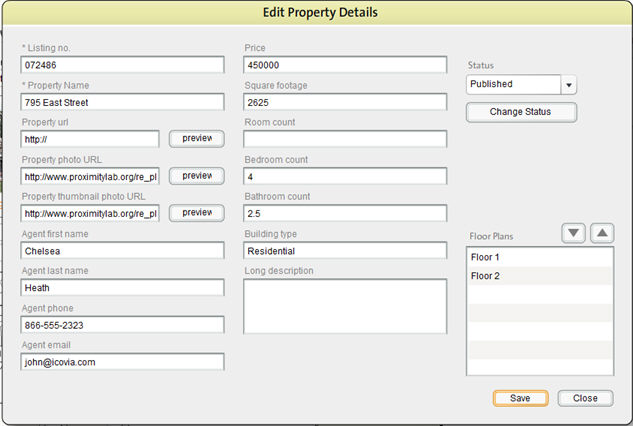
The Property Name provides easy reference as to which property you are viewing. The name displayed is the name of the property that you choose in the left side of the screen. The Floor drop-down list shows you the plans available for different floors along with the status of the plan which is displayed on the right as a link. You can edit the status or any details about the property by clicking on the link and editing the details in the Edit Property Details window.
The floor selection section of the top panel provides navigation between the floor plans for different floors/levels. Click on the ![]() button to view the list of available floor plans for the selected property. Select the floor plan for the floor you want to view by clicking on it. The selected floor plan is displayed in the work area. If you want to view the floor plan for a different floor, simply select that floor from the available floor plans.
button to view the list of available floor plans for the selected property. Select the floor plan for the floor you want to view by clicking on it. The selected floor plan is displayed in the work area. If you want to view the floor plan for a different floor, simply select that floor from the available floor plans.

The status displays the status of the property, whether it has been created, submitted, published, unpublished etc. Clicking on the property status link opens the Edit Property Details page for the selected property. You can edit any of the property details like the status, the agent name, square footage, price etc using the edit properties window. Just make the changes and click on the Save button to save changes to the property details.