You can add users to your planner and specify roles for them so that you have control over what they can do and what they cannot do with a floor plan or a property. To learn about user types, click here.
To Add Users to your Icovia Account
| 1. | Go to the following URL: http://clientname.icovia.com/reporting50 and replace "clientname" with your company name. |
| 2. | Type in your User Name and Password and click on the Login button. This takes you to the Summary page where you can then select the Users & Leads Tab section of the reporting tool where you can add or edit users. |
| 3. | Click on the New User button at the bottom of the page on the left. This expands the section to add the details of the new user below the button. |
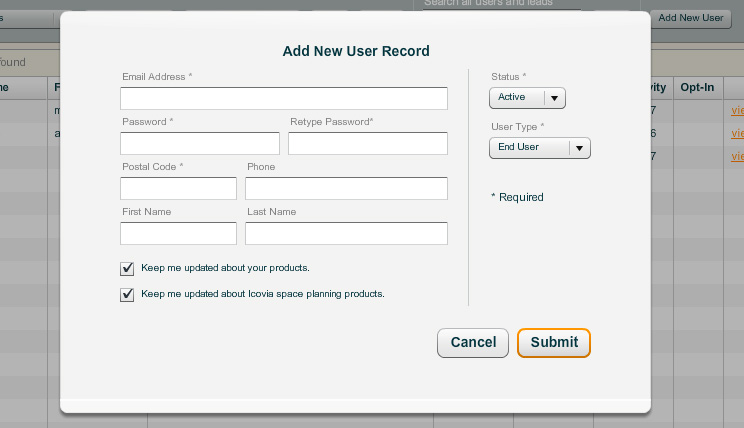
| 5. | ln Email Address: Type in the email address (username) that the user should use to login. |
| 6. | In Password: Type in a password for the user. |
| 7. | In User Type: Click on the  to view a drop-down list of available user types and select user's role by clicking on it. to view a drop-down list of available user types and select user's role by clicking on it. |
| 8. | Click Submit to add the new user to the list of users. |
| 9. | Once added, the user's details can be edited anytime by clicking on the Edit link for a user. |


