|
<< Click to Display Table of Contents >> All About Walls |
  
|
|
<< Click to Display Table of Contents >> All About Walls |
|
Walls can be added to your plan two different ways.
The most common method of adding walls is with the add wall tool in the editor toolbar. This tool places consecutive wall segments that are connected at the endpoints. These endpoints behave as control points that can easily be dragged to different lengths and angles. Dragging a corner drawn this way will pull both walls as you drag.

The second method for adding walls is to select the wall icon from the structural icon set. This draws single-segment walls. This method is useful for adding walls with squared-off ends. This would be a preferred method when adding walls of large widths.
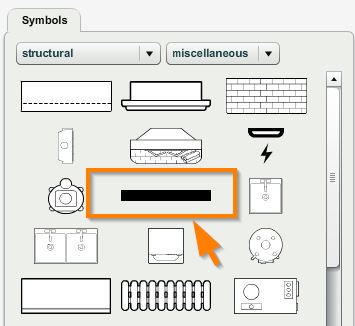
Note: Doors, windows and openings will not snap to walls that are added as icons (from the Structural icon group.) The wall snap 90° does not have any affect on wall icons. There is no wall info panel displayed for wall icons, however the standard icon properties panel is displayed, which facilitates managing dimensions.
When you add walls, they will snap to angles in 45° increments. This does not mean you are restricted to walls at those angles. You can override this behavior by turning off the wall snap 90° command.