|
<< Click to Display Table of Contents >> To Assign a Web Page to an Icon |
  
|
|
<< Click to Display Table of Contents >> To Assign a Web Page to an Icon |
|
You can assign a web page to an icon. The web page can display further information about the product being represented by the icon. This feature is useful for specifying specific products, materials, examples or other item-specific reference material in your plans.
| 1. | Select an icon in the work area using the selection tool. |
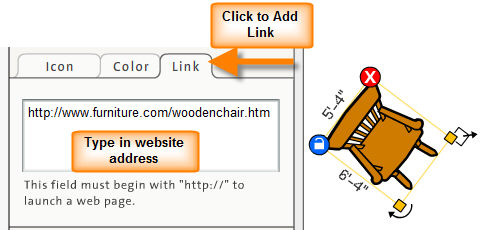
| 2. | Once the icon is selected, the icon info panel displays a set of tabs which you can use set icon options. One of these tabs is the Link tab. |
| 3. | Click on the Link tab and enter the web site address you wish to link the icon to in the text box provided. |
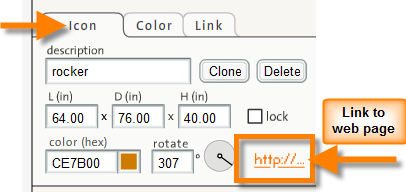
| 4. | Once you've entered the link text, click on the Icon tab. An orange link starting with “http://...” now appears in the Icon Info panel. Clicking on this link will open a new browser window to the web page you've specified. Because the Icon info panel appears when you click on icons, anyone who is viewing the plan will just need to click on the link to view the web page assigned to the icon. |
Note: To save time, copy link text from other applications including web browsers and paste it into the Web Page field in Icovia.